Lawn Trial: The Ten-Minute First-Flight Check That Tells You Whether to Keep the Drone
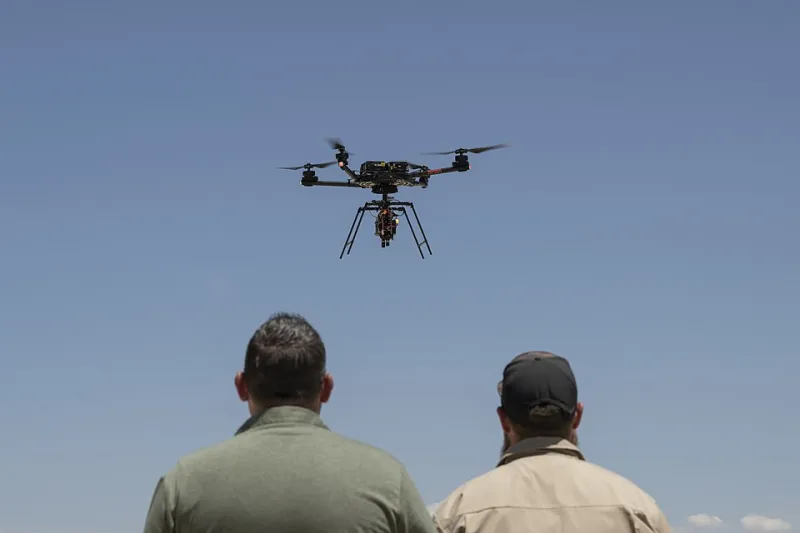
Photo: NASA Armstrong Flight Research Center / NASA/Ryan Kline, Public domain, via Wikimedia Commons
Unboxing day is a lovely bit of theatre. Foam insert, spare props in a little bag, a controller that feels more like a games console than the transmitter your dad used to fly. Then everything charges, you take it outside, and the gap between it flies and I trust it turns out to be wider than the marketing suggested.
The temptation is to drive to the coast for that first cinematic flight. Don't. Almost everything you need to know about whether your new drone is a keeper can be learned in ten minutes on a lawn — while you're still close enough to the box, the receipt and the returns window.
Keep flight one boring
A quiet garden, an empty recreation ground, a flat corner of the park with no dog walkers. That's the venue. If your drone weighs over 249g you'll have sorted your Flyer ID and Operator ID already, and whatever the weight, keeping well away from people and staying in visual line of sight is both the legal position and the sensible one. A first flight is a diagnostic exercise, not a shoot.
Calibrate the gimbal before you judge the camera
Almost everyone skips this, then spends a week convinced their drone has a crooked horizon.
Put the drone on a genuinely level surface — a patio table, not grass — and run the gimbal auto-calibration in the app. Do a compass calibration if the app asks for one, well away from metal fences, cars and the reinforced concrete of a driveway. Leave the IMU calibration alone unless the app prompts you; it's a faff and it isn't a daily ritual.
Then check the horizon against a fence line or a roof ridge rather than by eye in open sky. If it's a degree or two off, most apps let you trim it out. If it's five degrees off, that's a warranty conversation, and you want to be having it in week one rather than discovering it in the edit suite.
Let it hover and do nothing
Take off, climb to head height, hands off the sticks. Count to sixty.
A healthy drone sits there, drifting a few centimetres at most, with the occasional small correction. What you're watching for is the opposite: slow, steady drift in one direction (compass or GPS trouble), a nervous twitch that never settles (props or motors), or a gentle sinking feeling (battery or barometer). Watch the gimbal too — it should stay level as the airframe drifts, not lazily follow the tilt.
Do it twice, once facing you and once facing away. Some cheaper gimbals behave differently depending on yaw angle, and you'd rather find that out over a lawn than over a reservoir.
The latency test
Find something obvious — a gatepost, a wheelie bin, the corner of a shed — and tap the stick to move the drone a metre sideways. Watch the screen, not the drone. The gap between your thumb and the picture is your latency, and it matters more to your footage than half the numbers on the box.
A few hundred milliseconds feels like flying through treacle and you'll overcorrect constantly. If it feels sluggish, drop out of any 'smooth' transmission mode, switch off beauty filters, and check you aren't in a congested Wi-Fi area — a suburban street with forty networks is a genuinely hostile testing ground. If it's still bad on a clear channel, make a note now, because it only gets worse at range.
Set the return-to-home height to something British
This is the setting people get wrong, and it's the one that turns a hiccup into a lost aircraft.
Default RTH heights often sit around 20-30 metres. In an open field that's fine. In a British suburb with mature oaks, poplars and a neighbour's extension, 30m isn't automatically enough — and set it much higher and the drone burns battery climbing into wind it could have avoided. Walk the boundary of where you actually fly, look at the tallest thing, add a healthy margin, and be honest about the trees further out.
While you're in that menu: check the low-battery RTH threshold (many ship set far too low for comfort), cap the maximum altitude at the legal 120m, and pick return-and-hover over return-and-land if the app offers it.
Fly it in wind, deliberately
A still day tells you nothing, and British weather rarely offers one anyway. Take the drone up in the sort of breeze you'd genuinely fly in — a fresh 15mph with gusts is a fair test.
Watch three things. Does it fight to hold position, or get shoved sideways while the gimbal works overtime? Does the horizon hold steady in the footage? Does the app warn you about wind at a sensible threshold rather than after the fact? Then bring it down manually, into a headwind, and see how it lands. That's the landing you'll be doing for real in six months.
Five app settings worth changing now
- Transmission quality over range — favour stability in suburbia, quality in open country.
- Grid overlay and histogram — switch both on before you film anything you care about.
- Auto-record on takeoff — off. You'll delete ninety per cent of it.
- Beginner or tripod mode — on for the first week. It'll save your props.
- Firmware auto-update — off until you're home and can babysit it.
The ten-minute verdict
Straight horizon, stable hover, direct sticks and a return-to-home that behaved itself in a breeze: you've got a keeper, and you can start thinking about where to point it. If something's off, you've found out in a garden, in week one, with the receipt still in the drawer — a far better place to have that conversation than the middle of Dartmoor.